Rubber Stamp Embossing
Bring those images to life!
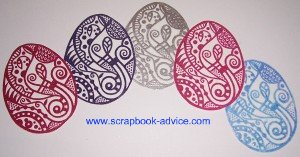
What tools so you need to do Rubber Stamp Embossing or Heat Embossing or to emboss your hand written text? Here's the Rubber Stamp Heat Embossing Tutorial.
Embossing Tools
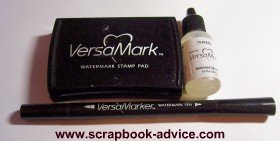
. Versa Mark Embossing Pad or Pen or Pad of Pigment Ink
. Craft Tray or piece of paper
. Stamp Cushion, mouse pad or magazine
. Embossing powder
. Heat Gun
Embossing with Versa Mark
Tsukineko VersaMark Watermark
Resist Ink Pad
First for your Rubber Stamp Embossing, you will need an
embossing pad like the Versa Mark pad shown here. The Versa Mark ink is sticky and takes a while to dry, but it is also clear so it is difficult to see. I have seen some advertised that stamps in a light pink. It looks like a watermark after you have stamped with it and can also be used to stamp images for background paper. It does need to be heat set either way. Great for all your Rubber Stamp Embossing projects. Reinkers are available.

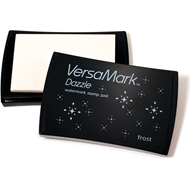
VersaMark Dazzle Watermark Resist Ink Pad: Frost
Dazzle combines all the great qualities of the original VersaMark with added shimmer to give your paper projects an easy touch of elegance.
Pigment Ink Pad
Clearsnap ColorBox Pigment Ink
Petal Point Option Pads
You can also use a
Pigment Ink Pad, as the ink takes a while to dry and when you put on the Embossing Powder, there is time before the ink dries for the
Embossing Powder to stick.
When doing Rubber Stamp Embossing or Heat Embossing, you can do this two ways. Use
clear Versa Mark ink and colored embossing powders, or use
colored ink and clear, metallic or pearl embossing powders. The choice is up to you. In my case, it depends on what colors of Embossing Powder or Inks I happen to have.
The first set of images will show you how to do rubber stamp embossing with the Versa Mark clear ink and colored embossing powder; the second set of images will show you how to use pigment ink and emboss with metallic embossing powder.

Stamping Pad or Cushion
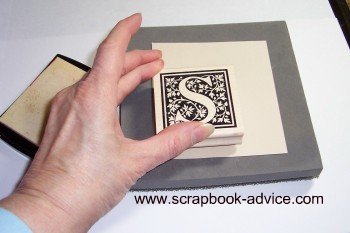
When Rubber Stamp Embossing your image, you need to have a
flat, level surface to do your stamping on. Some sort of
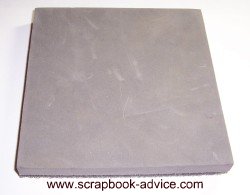
cushion is a good idea if your image has a lot of fine detail. Here is a photo of a cushion that is to be used specifically for rubber stamping, but a mouse pad will work as well as a magazine - just something to give a little bit of extra cushion under the stamp.
Inking the Image
First up for Rubber Stamp Embossing,
ink the stamp image with your Versa Mark pad. Be careful and only ink the raised edges of the image. It might be easier to lay the stamp image upside down and pat the image with the pad to get full coverage of the raised portion of the image. Even if your stamp pad is smaller than your stamp, you can get full coverage.
Stamping the Image
For the Best Rubber Stamp Embossing, turn the stamp over and
press the stamp straight down onto the paper carefully. Do not rock the image back and forth - this will cause any ink on the edges to get onto the paper and create a shadow.
Then when you go to remove the stamp from the paper or card stock, the paper will probably stick, so hold the paper down with one hand and
pull the stamp straight up.
You should be able to see the image slightly on the paper - like a Watermark.
Rubber Stamp Embossing Powder
Next you will need your
Embossing Powder. These come all colors, black and white, gold, silver and copper, and pearls. All for use with a clear Embossing Ink. They also come in Clear or Pearl for use with colored Pigment inks. The Embossing Powders come in 1 oz and 2 oz jars and can be purchased separately or in kits.

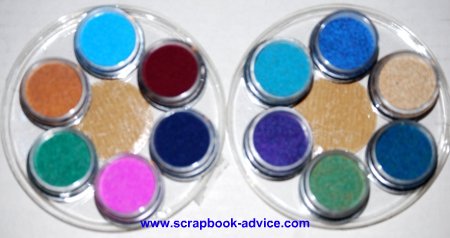
Embossing Powder Assortment from PK Glitz.
6 1/2 oz jars each wheel.
Left: Summer I Color Wheel: Plum, Fuchsia, China Jade, Honeycomb, Azure, & Wine.
Right: Spring II Color Wheel: Violet, Tanzanite, Tropical Rain, Mystic Green, Desert Sand, & Sea Mist.
I just love PK Glitz products and you can find out more about their products at
PK Glitz.
Embossing or Craft Tray
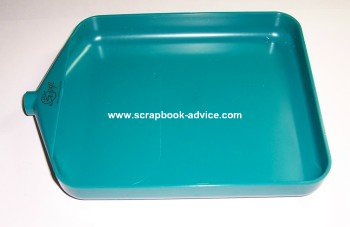
Next you might need a
craft tray to collect the excess embossing powder, but if you don't want to buy one, a sheet of paper will do. This will be used to hold the excess embossing powder and to
put it back into the jar.

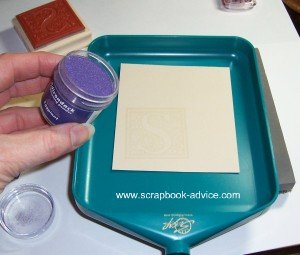
Place the paper with the stamped image into the craft tray or on the piece of paper and
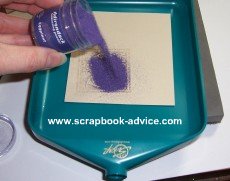
shake the embossing powder directly into the Versa Mark Stamped Image. You will immediately begin to see you image appear as the flecks of the embossing powder begin to stick.
Once the stamped image is covered with the embossing powder, pick up the card with the image, and
shake off the excess powder into the tray or onto the piece of paper. You can tap the card with image on it's side or tap the back with your finger to knock off the excess. If any specks remain near the image, you can remove them with a small dry paint brush.
Save the Excess Powder
The
excess embossing powder that you have left in the craft tray or on the piece of paper can be used again. If you are using the tray, the funnel end can be used to dump the remaining powder back into the jar. If you are using a piece of paper, crease the paper to make it easier to direct it back in to the jar. Your Rubber Stamp Embossing Powder will last a long time this way.
Heat Gun
Now you are ready to get your
heat gun and finish the Rubber Stamp Embossing or the Heat Embossing of your project.
Do Not Use a Hair Dryer for This. You only need heat, not the blower portion. You may also be able to hold the card over an incandescent light bulb, but do not touch it.
 Tip: Do Not!!!!! leave the paper on your work surface as you could melt the finish underneath it.
 I either hold the card in one hand and hold the heat gun in the other, or set it down on a piece of left over tile or on a card board to keep my hands away from the heat source.
As you heat the Rubber Stamp Embossing Powder,
move the heat gun back and forth about 3 or 4 inches from the project.
Your intent is to melt the embossing powder, but not to burn the paper. As the embossing powder melts,
it will turn shiny. The right two-thirds of this image has been melted, the left side has not yet been heated.
Caution: This will be hot and wet for a minute or so, so don't touch or it will stick to your fingers.
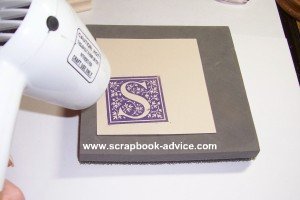
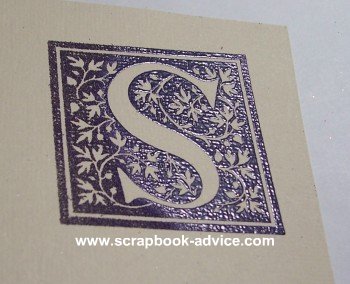
When completely heated, turn off your heat gun and put the image aside. If you have finished using that color Rubber Stamp Embossing powder use the tray to pour the rest of the embossing powder back into the jar - or fold the paper to allow the powder to fall back into the jar.
Here's a link to some more embossed rubber stamps on our
Christmas Card Making Ideas
page that uses some of Michael Strong's Cloisonne stamps. His Cloisonne Eggs are shown at the top of this page.
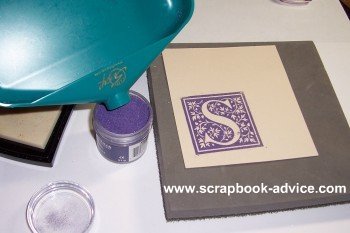
It always seems like a little of the embossing powder will stick to the inside of the tray. That's due to static electricity and you can always help it back into the jar with a tissue or a small paint brush.
Versa Mark Embossing Pen
or VersaMarker Watermark Pen
But, Wait, I'm not quite finished. While talking about Rubber Stamp Embossing, let's talk about the
Versa Mark Embossing Pen or VersaMarker Watermark Pen, which does the same thing as the embossing pad. Here's a photo of the Versa Mark Pad, the Dual Tipped Pen and a Versa Mark fluid refill bottle, in case your pad or pen run dry. This lasts a very long time, several years is not unusual.


Here I have written the last name on the top of the card using the Versa Mark Pen. It is barely visible in this photo, again like a Watermark.
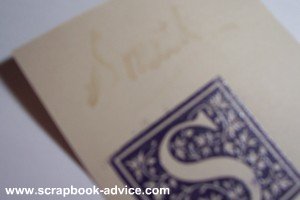
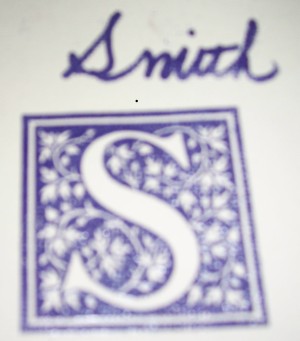
Again, after you have written the text you wish to emboss, put the embossing powder over the writing; shake off the excess embossing powder; then use the heat gun again to melt the embossing powder to produce your final image.
Your final Rubber Stamp Embossing product.
Zig Embossing Markers
There are now
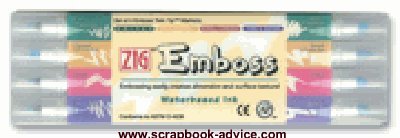
ZIG Embossing Markers which stay wet long enough to add embossing powders. These are easier to use than the Versa Mark as you can actually see what you are writing. Here is where you could use your
pearl or metallic embossing powders for a special effect.
All of the markers contains clear water-based ink and are available in a set with all four dual-tipped pens mentioned above.
Marker 1 has a Fine 0.5mm line & Bullet 1.2mm line.
Marker 2 has a Narrow 2.0mm line & Broad 3.5mm line.
Marker 3 has a scroll line & Brush line.
Marker 4 has a Fine 0.5mm line & Chisel 1.2mm line.
Directions for using these are the same as basic Rubber Stamp Embossing.
1. Draw, write or outline area for embossing.
2. Sprinkle your embossing powder over the inked area. Shake off excess powder by tapping on the back of the cardstock.
3. Heat set the area with a heat gun until the embossing powder melts into a shiny, raised surface.
4. Let the embossing dry completely - and be careful as the embossing powder will be hot for a while.
Embossing with Pigment Ink
Here's another Heat Embossing Tutorial with photos showing the Rubber Stamp Embossing using another stamp and Pigment Ink.
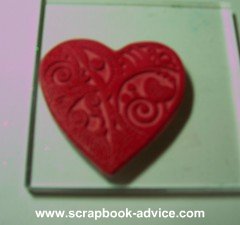
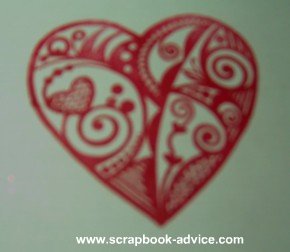
Ink the stamp with the Red ink and stamp the paper.
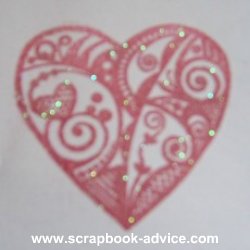
Sprinkle on the Embossing Powder, in this case a Pearl Metallic.
Then shake off the excess Embossing Powder. You can see if you have full coverage as the image will be somewhat faded.

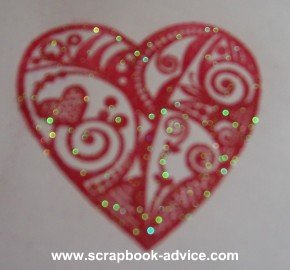
Here is the final product once the embossing powder has been melted. As you can see, the image is now much clearer.
Check out some great
Rubber Stamp Embossing videos of Michael Strong, maker of these Cloisonne Stamps - this Heart and the Eggs at the top of the page. He uses these beautiful embossed stamps in a lot of ideas and you can see the embossing process in action.
See some Michael Strong Videos with Rubber Stamp Embossing
Rubber Stamping
Rubber Stamp Conditioning
to Prepare your NEW stamps
Rubber Stamping Tips
to get the best images.
Unmounted Rubber Stamps
for a Tutorial on cutting, mounting & storing unmounted stamps
More ideas for Embossing with Rubber Stamps go to
Christmas Card Making Ideas
Home Page for general Scrapbook Advice


